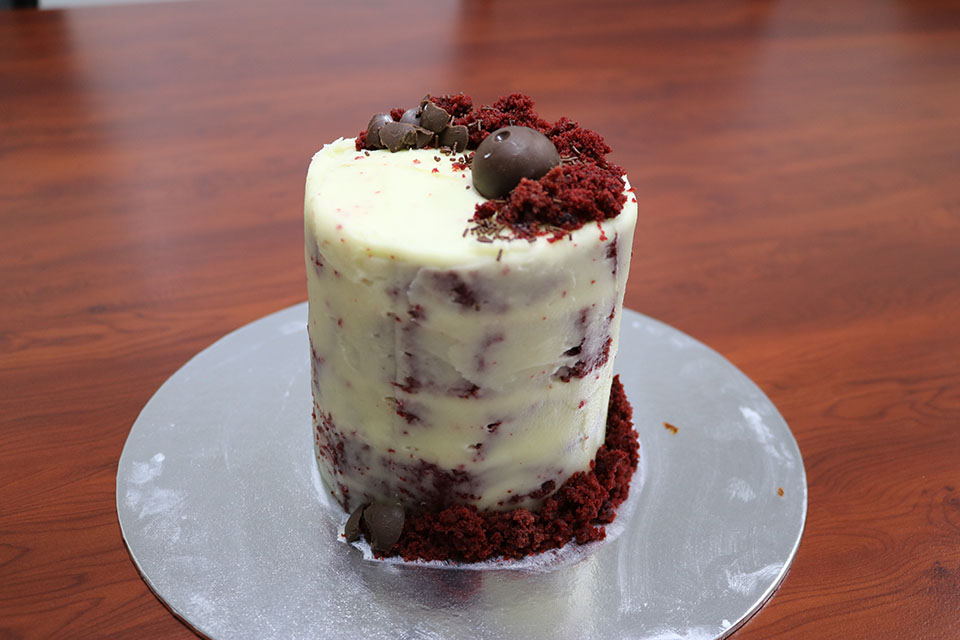
Naked Icing Red Velvet
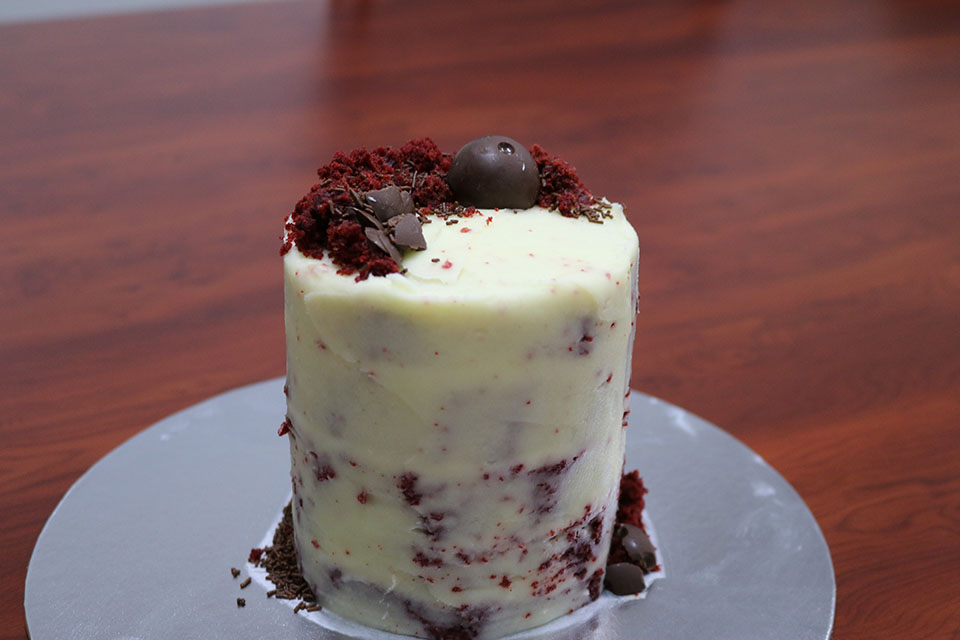
So I need to practice naked icing, it is one of those things where if you do too little icing it looks like you forgot to ice the cake. If you do too much it looks like you didn’t ice the cake properly. It is hard to maintain a balance and it can really depend on the type of cake that you ice. In this instance I chose to use red velvet cake as my base and as it is a dark colour it means that I needed to put more icing on to get that semi naked look.

If I was using just a normal butter cake instead I would of had to put less icing on the cake. With the butter cake being a lighter colour if I put too much icing on the cake becomes harder to see. Overall I think I did ok but I can always keep practicing and improving. The funny thing is, I took this cake into work(because if I ate all the cakes I make I would be the size of a house) and one of my co workers was so impressed they ordered a cake for their brothers birthday.

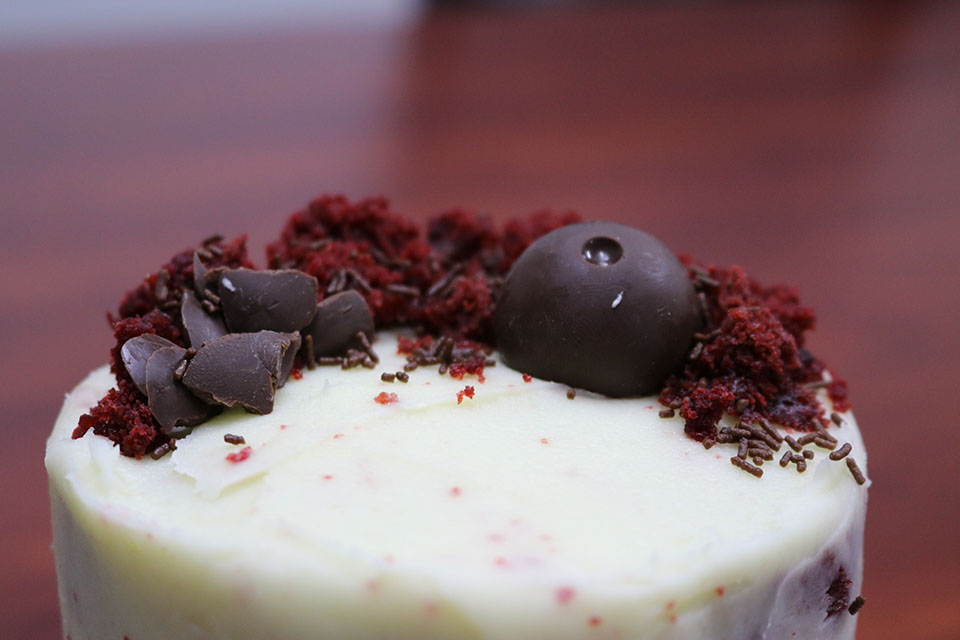
Here is the run down of how I made the cake, I started by mixing up the red velvet cake batter which is basically chocolate cake with red food colouring. I lined two cake tins and poured in the batter, then chucked them in the oven. While the cakes were baking, I mixed up so cream cheese icing to go in the middle of the cake layers and around the outside. Once the cake had finished baking I cut off the top and the bottom to get the cakes level, I then cut them in half to make more layers. I then stacked the layers up, icing between each layer then doing the final naked icing. To top it off I crumbled some of the cake that I cut off on top and around the base, with a final touch of crush chocolate.
